When to Create a Checkride Manually
The automatic scheduler handles most checkride scheduling, but there are times when you may want to create a checkride yourself:
- You have made a specific arrangement with an applicant outside the platform.
- You want to schedule a checkride with someone who is not yet on your waitlist.
- You need to fill a specific time slot with a particular applicant or checkride type.
- The scheduler is not enabled, and you prefer to manage scheduling manually.
Starting the Process
To create a checkride manually, click the + Offer Checkride button in the top right of the Checkrides page, or click on an empty time slot on your calendar within one of your availability blocks. This opens the checkride creation form.
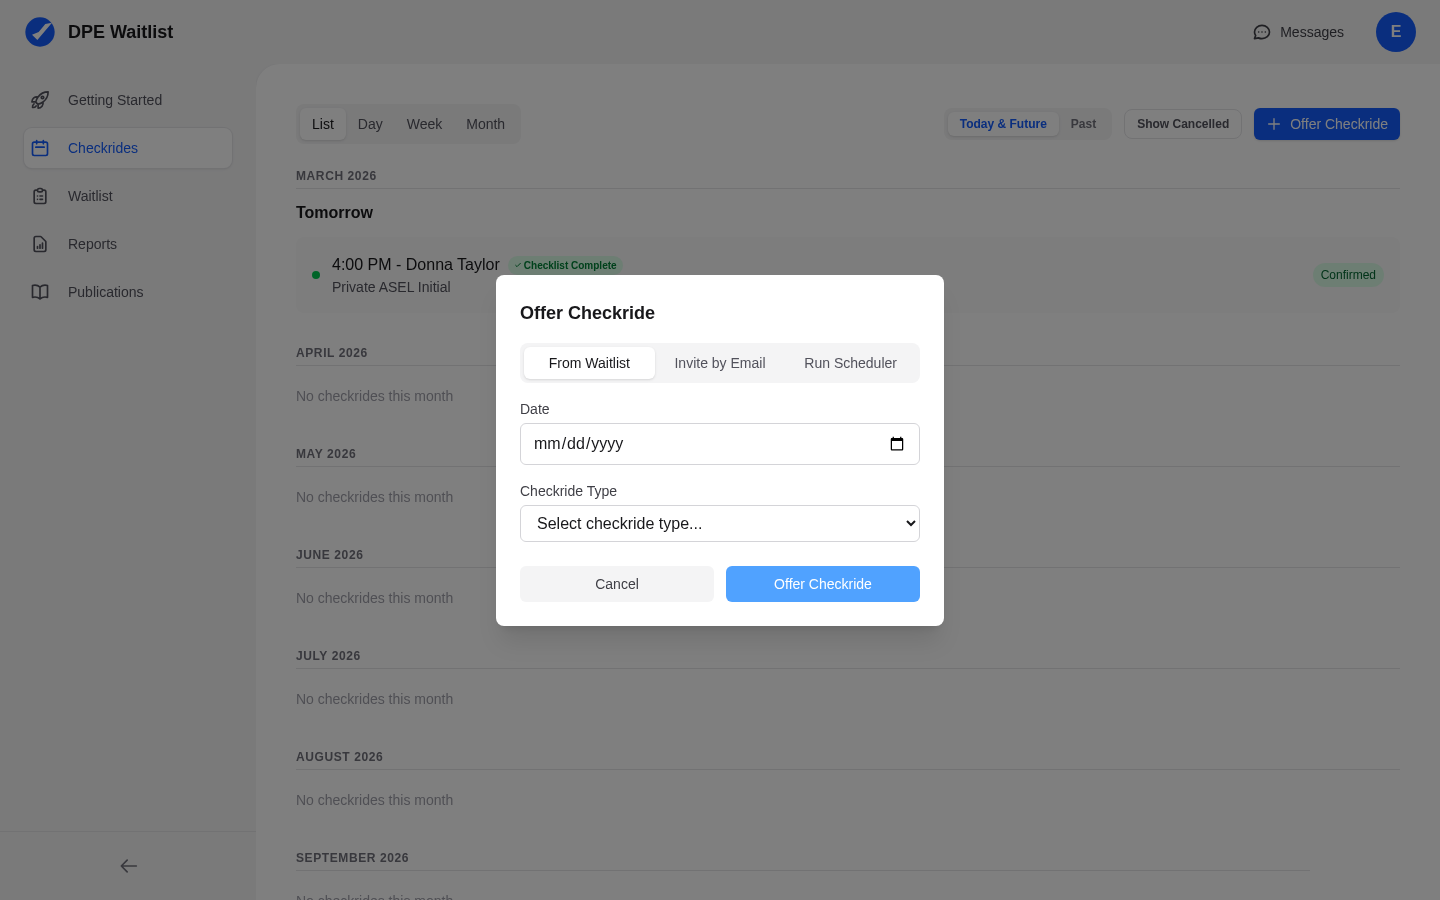
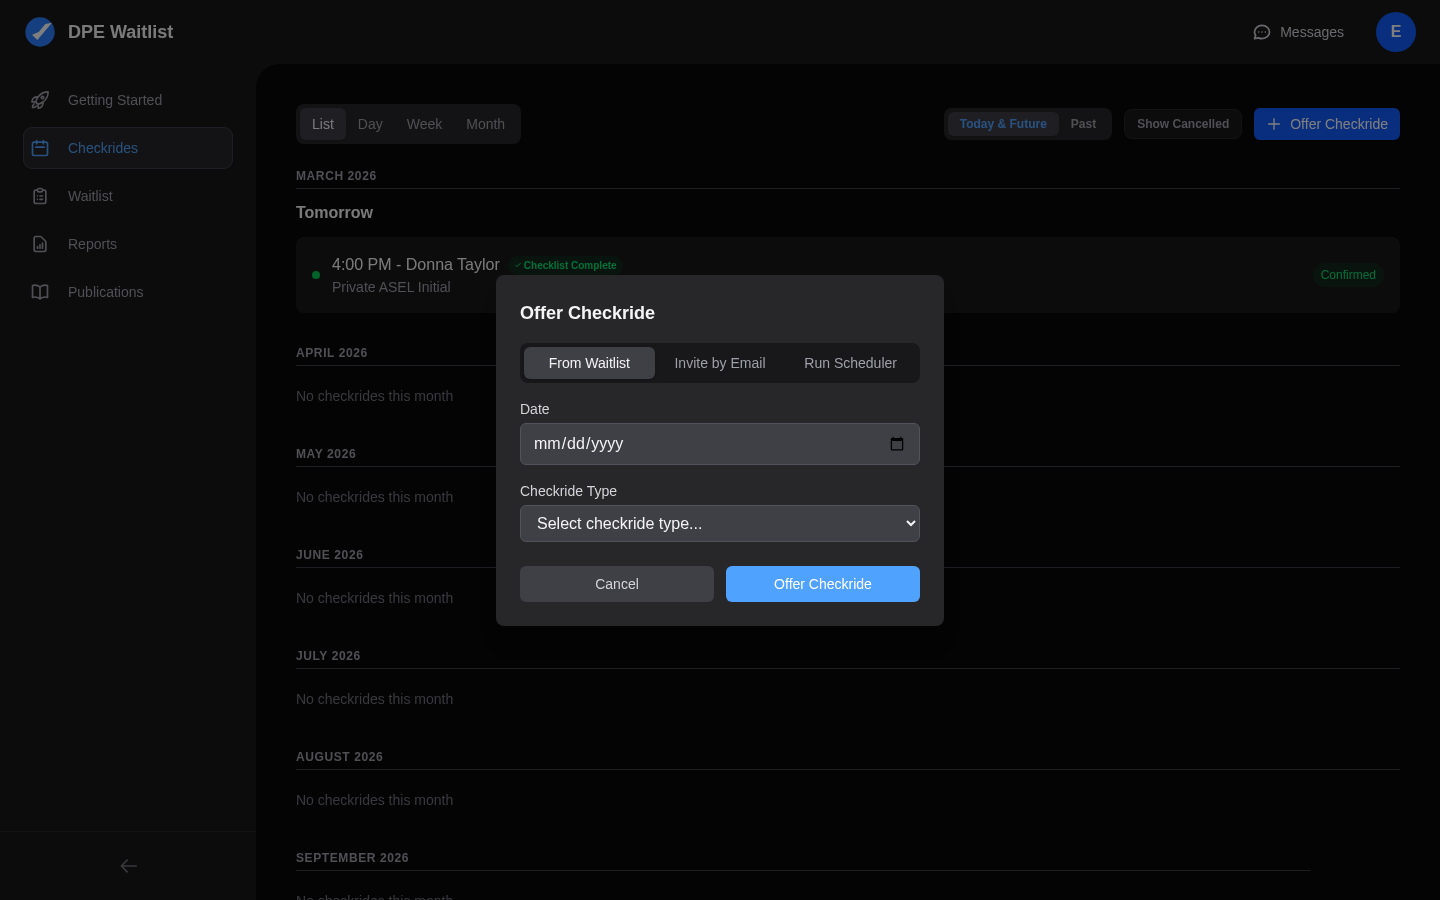
Filling Out the Checkride Details
The creation form asks for the following information:
Checkride Type
Select the type of checkride from the list of types you have configured in your settings (e.g., Private Pilot, Instrument Rating, Commercial Pilot). Only your configured types appear in the dropdown.
Testing Location
Choose the testing location where the checkride will take place. This pulls from the locations you have set up in your configuration. If you only have one location, it is selected automatically.
Date and Time
The date and time are pre-filled based on where you clicked on the calendar, but you can modify them. The duration is automatically set based on the checkride type configuration, so you only need to set the start time.
Applicant
You have two options for selecting the applicant:
- From your waitlist — Choose an applicant who is already on your waitlist. This is the most common approach.
- By email invitation — Enter an email address to invite an applicant who is not yet on the platform. The system generates an invitation with a link that the applicant can use to create an account and accept the checkride offer.
Reviewing and Confirming
After filling in all the details, review the summary and confirm the checkride. The checkride is created with an OFFERED status. The applicant receives a notification (and email, if applicable) with the checkride details.
What Happens Next
Once you create the offer, the applicant can accept or decline it. When they accept, the checkride status changes to CONFIRMED and it is locked in on your calendar. If the applicant was invited by email and does not yet have an account, they will need to create one before they can accept.