Where to Find the Checklist
The Getting Started checklist appears prominently on your dashboard as soon as you log in for the first time. It stays visible until you complete all the essential setup steps. Think of it as your onboarding roadmap — it ensures you do not miss any configuration that the platform needs to work effectively for you.
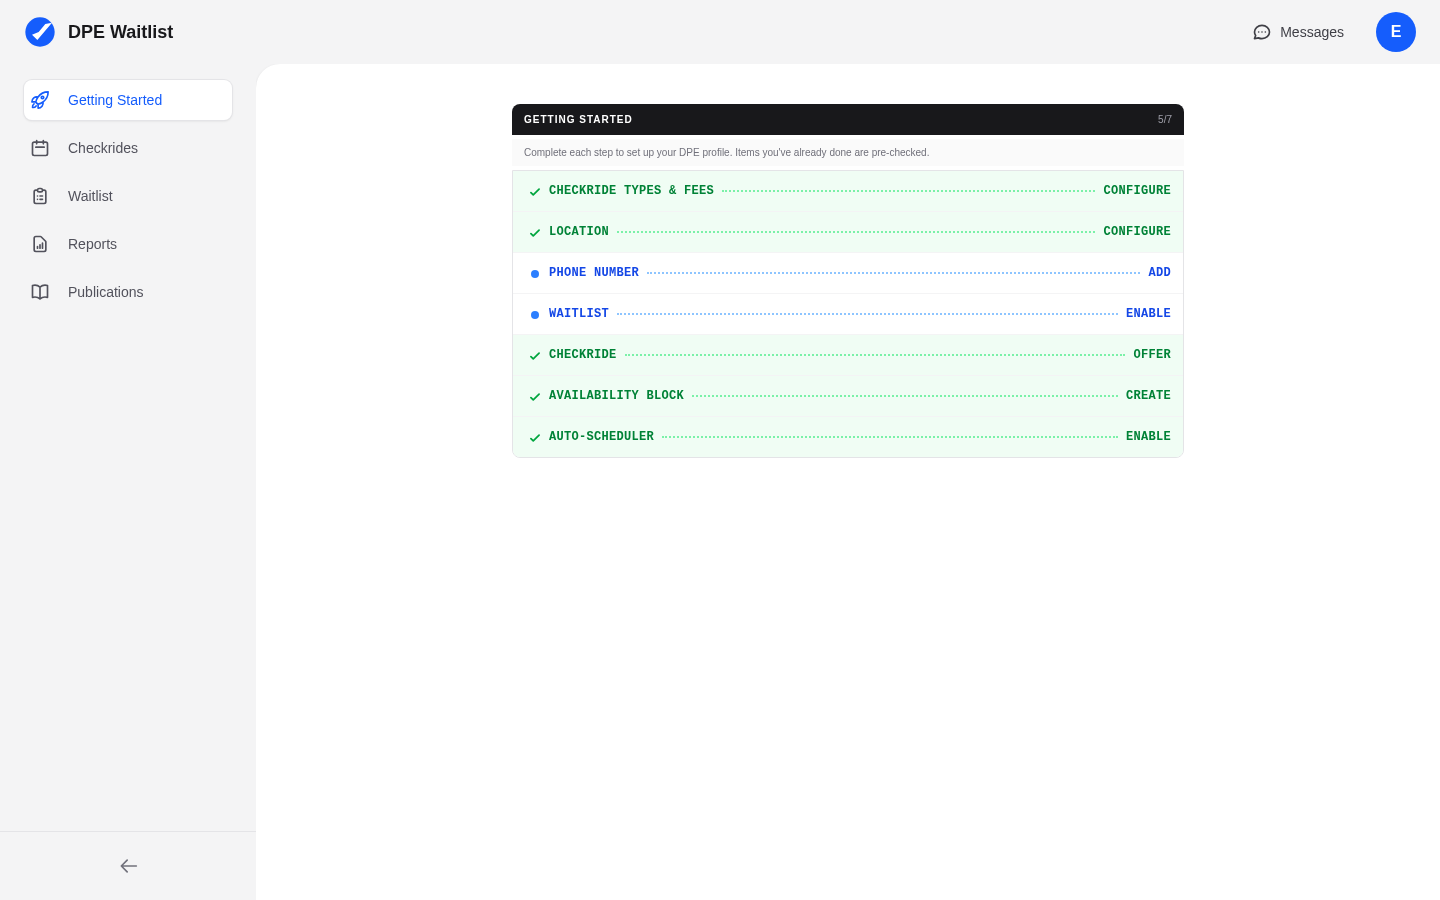
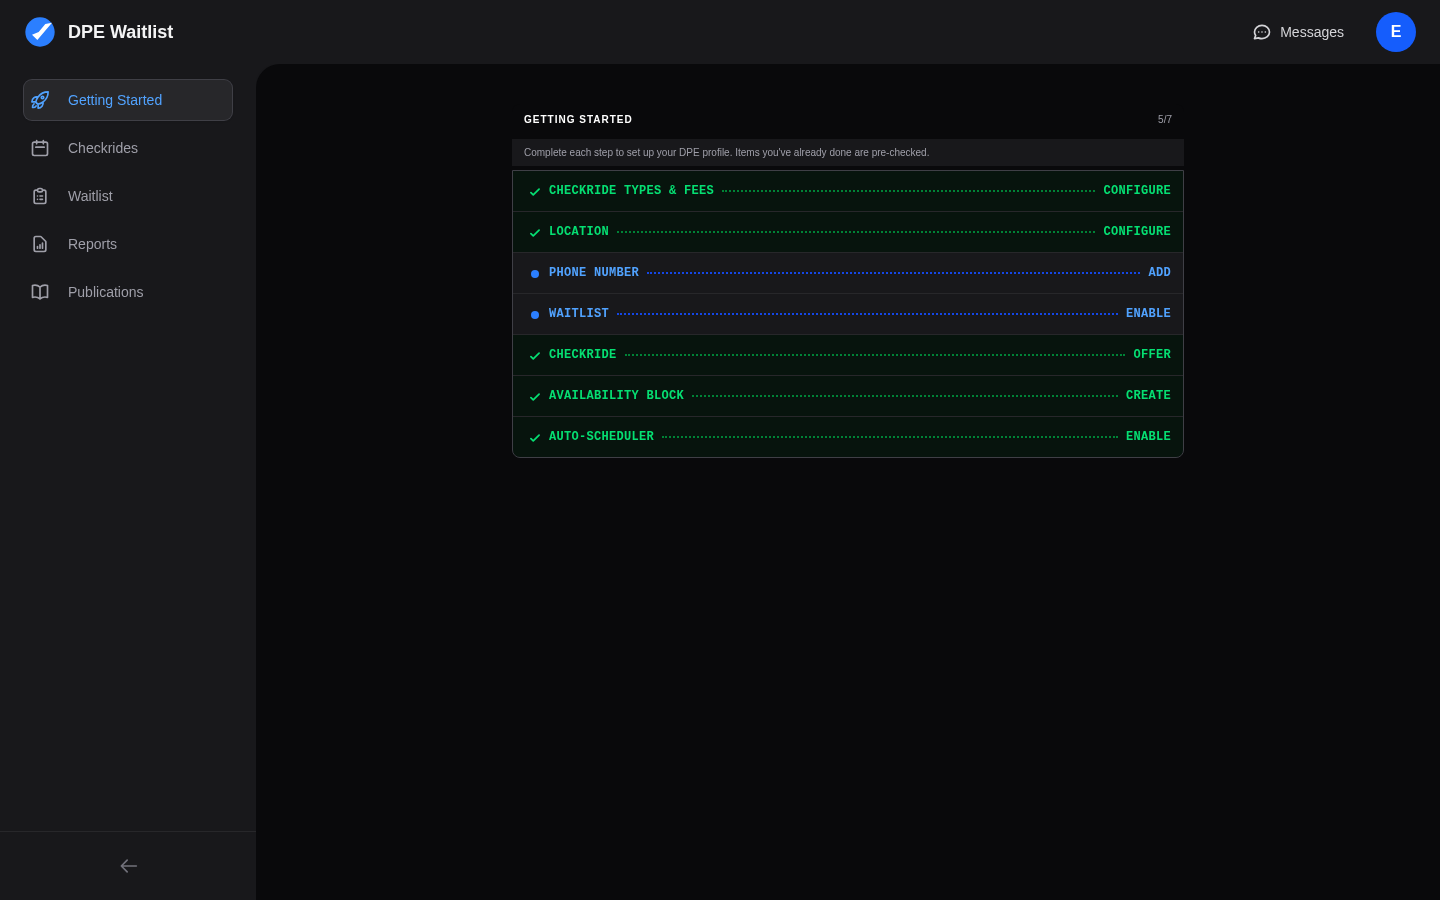
The Checklist Items
The Getting Started checklist includes the following items, each linking directly to the relevant configuration page:
1. Complete Your Profile
Fill out your display name, contact information, and bio. Your profile is what applicants see on the DPE map, so completing it is the first step to attracting applicants to your waitlist.
2. Configure Checkride Types
Set up the checkride types you offer (Private Pilot, Instrument Rating, Commercial Pilot, etc.) along with their durations and fees. The scheduler needs to know what types of checkrides you conduct and how long each one takes.
3. Add Testing Locations
Add at least one testing location where you conduct checkrides. Each location includes an address and optional travel fees. If you test at multiple airports or facilities, add each one so the scheduler can factor in location when making offers.
4. Set Your Availability
Create availability blocks on your calendar to indicate when you are available to conduct checkrides. You can set up recurring availability series (for example, every Tuesday and Thursday from 8 AM to 5 PM) or add individual availability blocks for specific dates.
5. Configure Scheduler Settings
Review and adjust your automatic scheduler settings, including your scheduling priority, how far in advance checkrides can be booked, and whether the scheduler is enabled. This is the final step before the platform can start automatically matching applicants to your open slots.
Recommended Order
While you can complete the checklist items in any order, we recommend following this sequence:
- Profile — Start here so your public listing looks professional from the beginning.
- Checkride Types — Define what you offer before setting up where and when.
- Testing Locations — Add your locations so availability and scheduling have a place to happen.
- Availability — Set your schedule so the platform knows when you can conduct checkrides.
- Scheduler Settings — Enable and fine-tune the scheduler last, once everything else is in place.
After Completing the Checklist
Once all items are checked off, the checklist will no longer appear on your dashboard. Your account is now fully configured and the scheduler (if enabled) will begin analyzing your availability and waitlist to generate checkride offers. You can always revisit any of these settings from the Settings section in your sidebar.