Overview
Receipts can be sent on or after the day of the checkride. After you record an outcome, a reminder of the receipt option is shown. The receipt displays the charges for the checkride, any payments received, and the balance due. When you send (or revise) a receipt, the applicant is emailed a copy and the receipt also appears on their dashboard.
Before You Begin
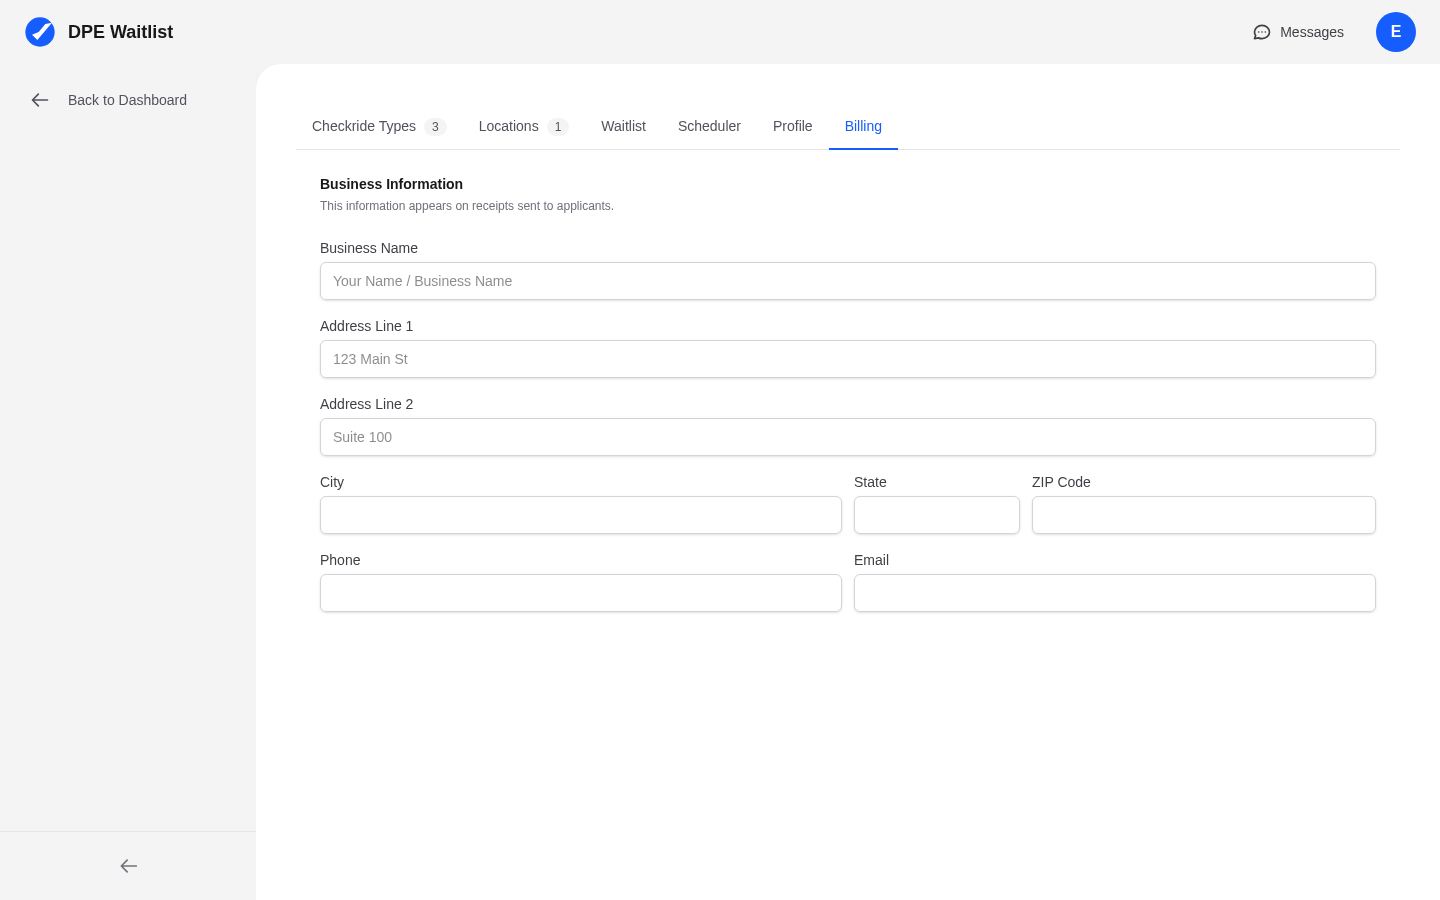
Business information is not required to send a receipt. Without it, your profile name and contact information are used. If you fill out your business details in Settings → Billing (business name, address, phone, and email), that information overrides your profile on all receipts.
Sending a Receipt
- Open a completed checkride from the Checkrides tab on your dashboard.
- Click the Send Receipt button. This opens the receipt editor in a new tab.
- The editor pre-fills charges based on the checkride fee and travel fee you have configured for that checkride type and location. It also pre-fills a payment line for the full amount.
- Review the charges and payments, then click Send Receipt.
Once sent, the receipt is immediately visible to the applicant on their dashboard.
Customizing Charges and Payments
The receipt editor lets you fully customize the receipt before sending:
- Add a charge — Click + Add charge to add additional line items (e.g., supplemental fees, materials).
- Edit a charge — Change the description or dollar amount of any charge.
- Remove a charge — Click the × button next to a charge to remove it.
- Add a payment — Click + Add payment to record additional payments (e.g., split payments on different dates).
- Edit or remove payments — Same as charges — change the description, amount, or remove.
- Notes — Add optional notes that appear at the bottom of the receipt.
The Balance Due updates in real time as you edit. When total payments equal or exceed total charges, the balance shows $0.00.
Previewing Before Sending
Click Print Preview to see exactly what the applicant will see. This shows the formatted receipt with your business info, the applicant's details, all charges and payments, and the balance. You can print from this preview or click Back to Editor to make changes.
Revising a Receipt
If you need to correct a receipt after sending it, open the same completed checkride and click View/Revise Receipt. The editor loads the current receipt data so you can make changes. Click Send Revised Receipt to save. The applicant will see the updated version, and the previous version is kept in the receipt history.
Receipt History
When editing a receipt that has been revised, click Previous Receipts at the bottom of the editor to expand the history. This shows all earlier versions with their dates, so you can review what was previously sent.