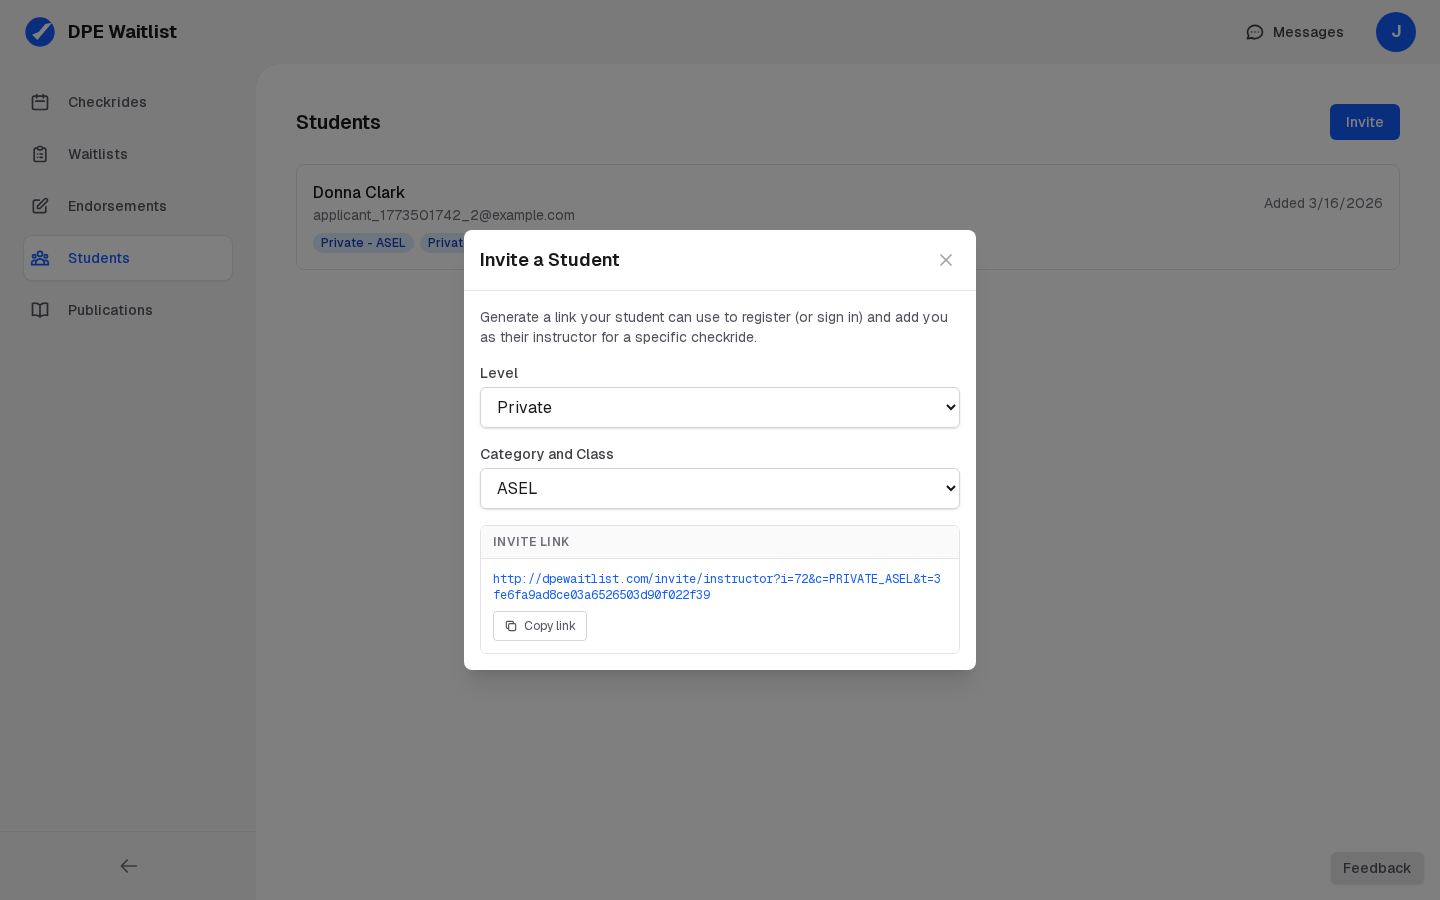
What an Invite Link Does
From your Students tab you can generate an invite link for a specific checkride category — for example, Private Pilot or Instrument Rating. Sharing the link is the fastest way to get a new student onto your roster without asking them to look you up first. The link itself is stateless and can be used by anyone you share it with, any number of times.
Generating a Link
Open the Students tab and click Invite Student. Choose the checkride category you want to authorize, then copy the generated link. Send it to the student through whatever channel you normally use — email, text, school LMS, or in person.
What the Student Sees
When the student clicks the link:
- Not signed in — they are routed through registration, then automatically returned to the invite flow so the authorization is created as soon as they finish signing up.
- Signed in as an applicant — the dashboard opens with the Add Instructor modal prefilled with your name and the category you chose. They confirm and the authorization is created.
- Signed in as a DPE — they are shown a sign-out prompt, since instructor authorizations are for applicant accounts.
Security and Reuse
Because the link is stateless, it doesn't expire and can be shared with multiple students if you teach a cohort — each one gets their own authorization when they follow the link. If you want to stop using a particular link, simply stop sharing it; the existing authorizations remain valid.
If the Student Already Has an Account With a Different Email
The registration flow will detect an existing email collision and redirect the student to the login page, then back into the invite flow after they sign in. They don't need to register again or contact support.